Friday 27 December 2019

Trending


I tatted these two angels and gave them away in a local exchange.  The bell below was received as a thank you and came all the way from Denmark.  

I hope you are all enjoying this  "silly season" as Jane calles it .  


Friday 22 November 2019

Still Another Angel


I purchased the set of 3d Angels from Renata Niemczyk/Renulek from her etsy site.  I used a  vintage thread Coats 30.  They are less than 2.5 inches tall .  I used a white pearl bead  about 14mm.   

Each angel is constructed the same but each has a different finish to the skirt which makes them even more unique.  I need to make a few more because these are already spoken for and I'd like a few for my tree.

Sorry for the poor photographs today, the light just didn't want to come into the kitchen.                                                                                                                                                                                                                                                                           


Tuesday 19 November 2019

An angel for M

One of the ladies from the Wild Rose lace makers Guild gifted me a tin box full of her excess jewellery. Inside the tin were  many  shiny pieces, bangles, bracelets,  beads and chains. She thought they would be useful for me to tat around. 

As a thank you I have made her this angel.  The tiny halo is tatted with a Diamant metallic thread color D301. It is a shiny copper color to match the repurposed bead which has a glint of copper inside. 

I have tatted the body with a vintage Coats size 30.  The body is stiffened with white school glue diluted with water. 

The designer is Orsi from Hungry and at one time she sold her pattern on Etsy but it's still available on her blog here.  She also provides information to make another version of this angel and a head.


Thursday 7 November 2019

More Bells

Recently I was involved in an exchange that asked you to share a tatted bell with the recipient.  I made the pinkish bell using rings only and bare thread.  I did add one row of chains at the bottom row.  I just increased rings or bare thread as required to make the ball shape.  I didn't think this bell would travel well so I made more.

 I completed the two flat bells below following a pattern by Judith Connors in the book Contemporary Tatting, New Designs from an Old Art. 

This is a great pattern and uses SCMR, throw rings and split rings I didn't have the type of bead she suggested so I made some new ones. 

Again I changed my mind and these two bells did not make there way to the recipient, rather I may keep them for myself.


Thursday 31 October 2019

Ankars Earrings

I had a bit of thread on the shuttles and tried out these  Ankars earrings by Kelly Dunn.  She taught this as a needle pattern at Fringe this fall.  I was not in her class but Fringe provides all patterns to registrants.

You will see a seed bead at the loop of the earrings. I have not gone through a ring rather through a picot and hope that seed bead will prevent the thread from working its way loose.

I also added the larger blue beads on both sides, that is why they are not laying flat for the photo.  

You can make this as a shuttle only pattern  by pulling some  thread off the shuttle before you start.  Then just finger tat the few chain stitches.  You could also plan a bit ahead and put the centre beads on the thread before you start. 

Saturday 26 October 2019

Silver Bells


These earrings are a surprise birthday gift for my Aunt Donna. She loves silver jewelry.  I used a Lizbeth Metallic Frappe thread and blue beads. Just another Joyful Bell pattern by Marilee Rockley.

I made her the name tag too. I had made her one before but it didn't match her personality so I now she has one made with Rainbow Splash by Lizbeth.  I hope she likes them.

I just used the end of my steel crochet hook to make the picots all the same size.  The pattern is by Kathy Lowe and can be found here.  There is a pattern for five or seven letters, using split rings with the beads in the center, You could add a bead  or use initials to get to the five or seven ring combination.


Thursday 24 October 2019

Honeycomb Charm Kit

Wish you were at Palmetto Tat Days?

Inside my goodie bag at Palmetto was this package with  thread and a hexagon shaped piece of wood; called a Honeycomb Charm kit 2019.  The gift was donated by Viki Clarke and the pattern available on her blog here.  She also has other free patterns too.

I tatted up the charm and was a bit nervous as I neared the end and wondered if the honeycomb would fit inside the tatting.   Yes it did.  I used the leftover thread for the fringe. 

Wednesday 23 October 2019

Blue Bells


These little blue bells are done using a lovely 12wt Wonderfil thread.  I really should have bought less than the 400 m spool.   I guess you will just be seeing more of these earrings.  The pattern is Joyful Bell by Marilee Rockley and available free on her blog.

I used a little trick to end these by using a single shuttle split ring (SSSR).  When you wrap the thread just wrap twice being careful not to cross the threads. This gives more stability to the last ring.

I tie a knot before starting the SSSR and hide one thread in the first half of the ring.  The second half is padded from the SSSR thus the ring looks equal and no ends to hide.

 I have already gifted a pair to my niece but I see the earring bends when worn so I may need to stiffen them a bit.  Remember to wipe off the beads before the stiffening dries to keep the beads shiny.


Monday 21 October 2019

Onion Ring Magic Square

Just a little practice piece.  The design is by Robin Perfetti and a free pattern on her  blog, Tatting by the Bay.  She recently added an edging to the pattern.

This is good practice for the Catherine Wheel Join.  Don't look too closely as this was also an attempt to do frontside backside tatting.  

Friday 11 October 2019

DinkyThe Cat

Dinky the cat is a design by Erin Holloway  and taught at Palmetto Tat days in 2012.  Once again it was taught at Camp Wanna Tat in October of 2019. 

I gave the Dinky some tufts of hair at the top.  We used a unique technique to make those legs. I also used CWJ to keep the spine neat as I joined all those rings.

You may find it a challenge to find those marquise beads with holes in each end for the eyes but bugle beads or small shirt buttons would work too. I used 4mm bicone beads for the feet. 

This was a fun pattern to make and can easily be finished in a few hours.

Saturday 5 October 2019

Thirty minute earrings

I have a new tatting tee shirt and wanted some  red metallic earrings to go with some of the red bling on the shirt.  We were off to see some local sites and Jane K. tossed a ball of thread at me.  So we are in the car. I had an empty shuttles but no scissors, now I needed to come up with an earring design using one shuttle.  I had to be able to make both earrings.

So here is what I came up with.  I made eight daisies,  (7 picot)  then a ring of 8 ds then 5 daisies.  Leaving a space of thread I repeated for the second earring. Once we returned to Jane's  she gave me access to her basket of beads and I added a bead to the end of each line of daisies and earring findings.  I call these my 30-minute earring.  Simple but effective.

Truth is these would probably take less than 30 minutes to make.


Wednesday 2 October 2019

Fringe Classes

Well well, this could be a first, I finished all my class projects from Fringe.  Below are the the projects,

Simple Shell taught and designed  by Lauren Snyder.

Second up is a Tatted Coin Enclosure, design by B. Dillon, taught by Lauren Snyder.


Now some practice with cluny tatting.  Design and class taught my Mimi Dillman. 

Finally I did this heart using Treble Tatting, design and taught by Kaye B. Judt.


Thanks to the Fringe Element Tatters for another great workshop in 2019.


Thursday 26 September 2019

Wish you were at Fringe Element Tat Days

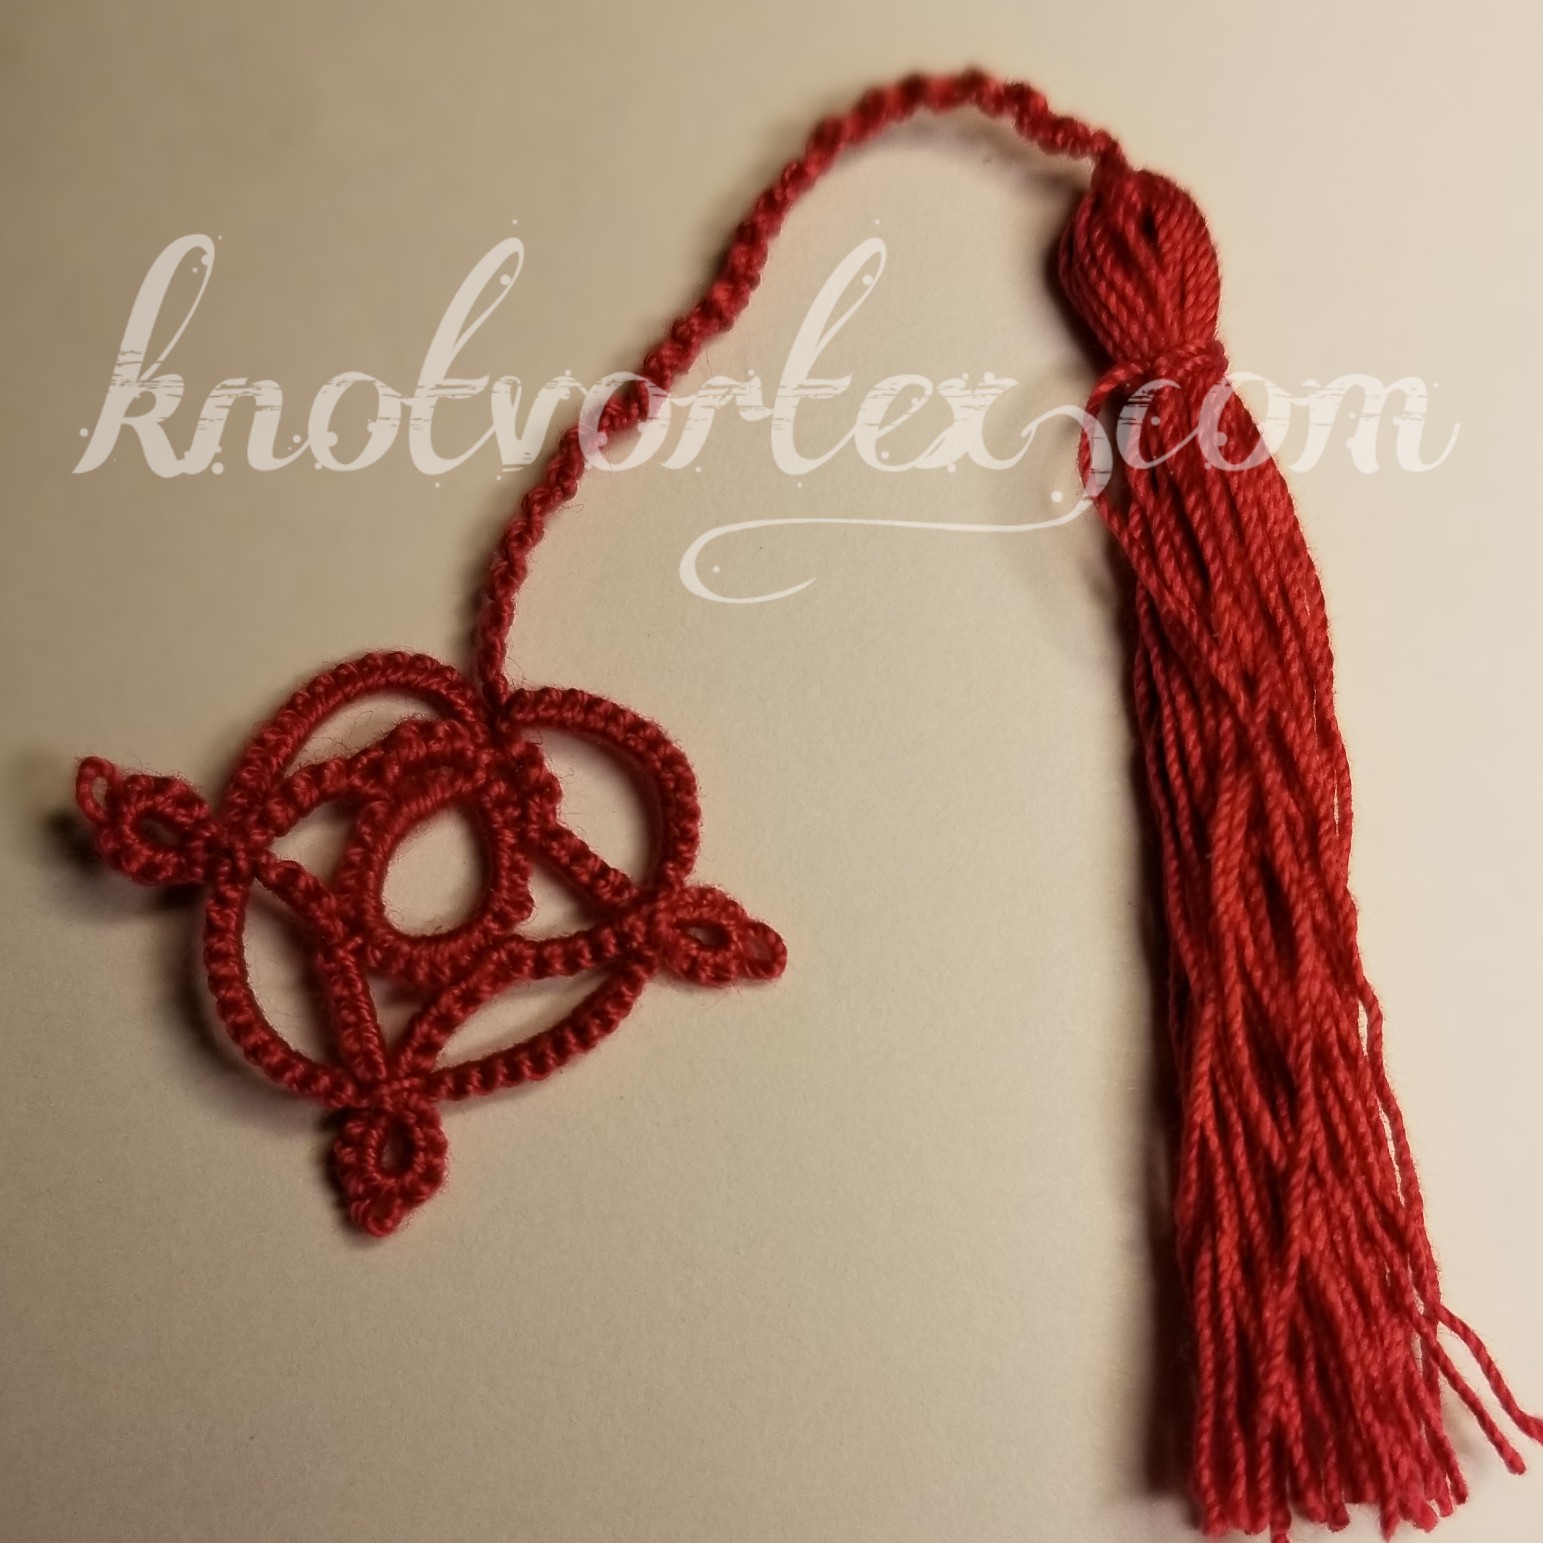
If you are not able to go to the Fringe Element Tat Days this year  Vicki  Clark has made it able for you to be there in heart.

She has created a pattern called Ballroom Blitz and it can be found on her blog. The pattern is great for beginners  as it uses one shuttle and ball.  The pattern contains lock joins, self closing  mock rings and even alligator joins.  It makes up very quickly too.  It looks like a shuttle inside a heart.

Thanks for the pattern Vicki, we hope to see you at Fringe next year.


Tuesday 24 September 2019

Project Bag

Love this little projet bag that was gifted to me by a dear friend.  It is lined with a stiff interfacing and my shuttles won't poke through.  I added the little bit of tatted trim and  short zipper pull to make it my own.


Now if only I could sew as good as she can I would be making my own.

Monday 23 September 2019

Cap or hat

This all started on a facebook post when a few of the gals decided that they wanted to complete a hat to wear at Fringe.   It is done in a J&P Coats  ecru Size 10.  The pattern is by Jan Stawasz and in the model it fits down on the eyebrows. 

I have done a few of  his patterns before and knew that he pulls his chains really tight so I did this but still the pattern seemed too large.  I had to omit  the last row of chains and adjust those split ring rows to get  a fit. 

Someone had suggested that I make a lining but I found this no label ball cap and it made sense to attach the lace to it.  Now I need to finish by putting some embellishment on the brim.  

I will be wearing it this week. 


Thursday 12 September 2019

Bye-bye Palmetto

I did it, I went to Tat Days in beautiful Toccoa, Georgia.  I had a marvelous time. Slept little, ate too much and tatted and talked and laughed and shared tatted tails.  

I took classes from Jane (bookmark), Martha (snowflake), Sharren (purse), Paige (pendant/earrings) and Anita (cat).  You will be seeing the results over the next few weeks as I finish the projects.

Here is what I also learned at Tat Days:
They drink sweet tea; because of the AC I learned to sleep with earplugs; No one is invisible during a White Elephant gift exchange; Never be late for a meal; Mosquitos bite; Atlanta Airport is the busiest in the US; You can hear cicadas; I saw my first dehumidifier. 

I plan to finish all my class projects, here is the first one the Demure Latch Lariat designed and taught by Paige Deputy.                            


Tuesday 27 August 2019

Wonderfil Specialty Threads


I do like to tat with fine threads and this is a lovely 12 wt Egyptian cotton I found at Katja's Quilt Shoppe in Kamloops, British Columbia.  If you are ever passing through Kamloops, this shop is just off the highway and if you are lucky you will get to meet Katja herself.  I didn't on my visit to the store but enjoyed the selection of fabrics and knowledgeable staff.  I am still new at sewing and they directed me to a bargain bundle of fabrics, just what I was looking for.


Of course I also asked them about threads to tat with and they introduced me to Wonderfil.  I chose a turquoise Spagetti.  It is double gassed to remove lint and the result is a smooth thread suitable for tatting.  Very similar to a 12 wt pearl cotton.  To my surprise Wonderfil has their head office in my city, Calgary.

I used the Monica Hahn pattern of Wheel of Nine Rings although I only did seven arms as I plan to add a center bead and create this as a flower.  You can find this pattern in her book Christmas Angels and Other Tatting Patterns.


Monday 12 August 2019

Tollway Tatters Flower

I was fortunate to be added to the Tollway Tatters facebook group although I will probably never meet a member but have always been virtual friends.  

This pattern was posted on facebook by Thea one of the members.  I loved it so much I asked to be a member of the group.

This flower is worked up in a vintage size 30 thread.  I received it in a ball so I have no label but it feels like a coats thread.  To wear, I put a shank button into the center and a bobbie pin through the button hole.  It could easily be attached to a hair clip.

I needed earrings to match the flower.


These two projects were finished at Pioneer Acres this weekend.  Thanks to all the organizers and I hope to see you again next year.


Wednesday 7 August 2019

Pioneer Acres


This weekend the Wild Rose Lacemakers will be doing bobbin lace and tatting demos at Pioneer Acres.  We will be located in the Museum so drop in and say hello.  We will have a pillow for you to try bobbin lace and I will have shuttles for you to try your hand at shuttle tatting. 


You can see in the picture some of my  assortment of shuttles and  3D tatting in little clear cups for display.  

Inside the purple roll  are various doilies and bits of tatting.  I cover the tatting with a clear tablecloth then roll it around a pool noodle for travel.  

I believe I saw the pool noodle technique which another tatter had used to transport her Monster Doily, was it you Ginny? 

So if you are anywhere near Irricana Alberta this weekend we'd love to see you.


Monday 29 July 2019

Copy Tat

I am posting today to encourage you to read a blog by a tatter who shares the same opinion as I do on "Copy Tat".  Please take the time to visit Jane Eborall's blog.  

I don't COPY TAT.

Friday 26 July 2019

Exchange

I received this lovely bracelet from Denmark.  It was from Ulla a tatter who participated in an exchange with the Fringe Element Tatters.   The little hook broke during transit but I have lots and will replace it and wear the bracelet.

She said the pattern was from Sweden.   Thanks Ulla and Happy Tatting.


Tuesday 23 July 2019

The Tatting Cabinet

So I thought I would share with you my  tatting cabinet. I found the cabinet on a swap/sale site and spent the better part of a day cleaning it up.

Behind the glass doors are four shelves. The thread is kept in clear shoe boxes mostly sorted by size which makes it easier to put things away.  The threads I don't use often or like are on the top. There is a light in the cabinet so some of the shoe boxes need to be put in sideways.  I rarely put the light on as I don't want to dry out my threads. 

The bottom shelf has tools and travel bags/boxes and holds my more expensive shuttles each packed away in their own special container.

If you look closely in the lower right you will see the Monster Doily which I pick up now and then. The Monster Doily is wrapped up in a white cloth to keep it clean and tidy.  There is also a package of  handkerchiefs should I get the urge to do some edgings. I have two tins of earrings, some for giveaway the other tin contains the ones I wear.


The lower half  of the cabinet has four deep drawers and two side doors with a shelf , (you can just see the top of them). The side doors are where I keep my tatting books, guild newsletters and folders of past conferences.  I use magazine folders to keep them from falling on one another.  I have a binder with some loose patterns and more vintage pamphlets placed in acid free plastic pockets. 

On my phone I use an app which keeps track of what books I have purchased. I can search or sort by title or author and add notes or reviews of the book.   I sort the books by author on the shelves, I have yet to catalogue (or actually count) the threads I have.  

The drawers contain, extra conference bags, a case of different types of shuttles that I bring to demos, beads, extra bobbin cases jewelry findings and tools, and ice drops too.  There is one drawer almost empty.

I keep some tatting on a cloth ready for demo but rolled up around a pool noodle for travel and storage. My demo shuttles (tatsy) and giveaway shuttles are also with the demo cloth.  There are some floss winders with thread for beginners too.

I usually sit at a table to tat,with my laptop nearby, I have an auxillary screen on which I can enlarge photos and patterns. 

When indoors I  always tat at a table but I started with one box with a lid until my stash started to grow.  The current (and unfinished) projects are in assorted bags and baskets on my table so they don't have to far to call me.  When it is time to clear the table I can still fit it all into the cabinet. 

To be honest this is one time when the cabinet does not look too bad, the labels have helped organize. This was one of my projects I wanted to get a handle on this year. It would love to hear what you think and how I can be more efficient.  I think it will always be a work in progress.

What does your tatting cabinet look like?

Monday 22 July 2019

Uniform Picots


I learned the hard way that having the right tool makes the job easier. So here is another idea for a tatting tool.

We know that having uniform decorative picots improves the appearance of your tatting project. I found these blunt ended needles in mom;s sewing stash a while ago. I think it is actually a yarn needle but its straight shaft makes it excellent to use as a picot gauge when working with finer threads.

I have added a bit of tatting to the end  as this has given me something to hold on to thus easier to use (and find).  I could attach a lanyard hook or even create a thumb loop too.  This  needle holder turned picot gauge was made from a half dozen beads and a bit of leftover shuttle thread

To see this in action you will need to go back to my first two rows of Renata  Niemczyk (Renulek) Wiosna 2019.  Now the picots are not perfect but by using a gauge  and by keeping it with the project I have found a perfect tool  to travel with my work.

Friday 19 July 2019

Even More Lanyards


A few years ago I purchased some Omega Thread, it is a nice thread.  You can tat with it but I prefer other brands for most projects. 

It is a little soft for most tatting but works great for lanyards.  I  really like the Patti Duff beaded lanyard because once the beads are loaded I can travel anywhere and tat without losing a bead.  It is a shuttle only pattern, all rings.


I have long fingers so I do not mind using a Tatsy shuttle.  I always have one loaded up ready to go.   I have found that is usually takes about 4 evenings to complete a lanyard.

Finish off the lanyard by adding a jump ring to each end then you have endless options as to how to use it. 

Tuesday 16 July 2019

Shuttle Brooch


This Mother of Pearl brooch was an accidental find on Ebay.  The cost was 14.00 US including shipping from the UK to Canada. It was described as "Antique Victorian cut steel mother of pearl lace pin brooch gold tone".

I thought  I would add a simple edging attaching to the openwork around the brooch, but now that I have cleaned it up I like it the way it is.  My yellow light does not show the rainbow depth of the Mother of Pearl.  There is hole in the center of the MOP and the rivet used for attachment is also shuttle shaped so I don't mind it there at all.

The size is 1.8 inches and I've added a comparison with a Susan Bates/clover type shuttle below.  I also added the before pictures from ebay below.

I used eyeglass lens cleaner and a soft toothbrush to slowly bring back the shine of the metal.  I used a wooden toothpick to gently persuade any tough spots. As the toothpick end softened it made itself into a little brush to assist with the cleaning.  I used a eyeglass cloth to dry and polish once the grime was removed.    I also used only my fingers to gently coax the metal back to where it should be. 

I pretty much stayed away from the Mother of Pearl as I didn't know how strong it would be.  Honestly the toothbrush did most of the work. 

I think the brooch will be a great addition to my Mother of Pearl button vest my mother made.


The before pictures


Monday 15 July 2019

Rose


It was Shakespeare who said "a rose by any other name would smell as sweet". These tiny roses are created with increasing size of  split rings. By  using  different colors on each shuttle the second half of the split ring has a tiny picot which  is used in the assembly.  You thread through  all those picots as you wind the rings/petals.  


I created a calyx at the end  with the green thread. I added three little beads to make it interesting I'd left the tails so that this can be added on to my summer project. 

This pattern is by Jeanne Lugert but I saw it on Ninetta Caruso's blog and used her pattern for the calyx.  The threads used we're just leftovers on a shuttle. 

Wednesday 10 July 2019

Summer Challenge

One of the local guilds I belong to has given us a summer challenge, we are to do a project base on this quote. 

""


This was the push I needed to make some flowers that  I have wanted to make since I took a class at Shuttlebirds in 2018.  My first flower is from Mary Konior "Tatting with Visual Patterns" pgs 66 and 67.  You create a circle of petals and assemble. I added a bead and then wound the petals around.  I had two threads so I just tied them in a knot at the bottom.  I may add a calyx.

I was just using up some extra crochet cotton size 10 that was on a teaching Tatsy shuttle so this flower is large.  I lightly starched the cotton with white school glue and water .